Getting Started with VSCode and GitHub
Step 1: Download VSCode and install it.


The settings I personally choose...
Step 2: Configure PowerShell syntax highlighting and VSIcons
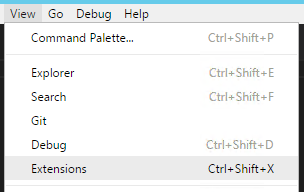
Click View -> Extensions

Click Install next to vscode-icons, this isn't required it is just a really nice touch IMO...

After you click install don't click reload, search for powershell and click Install next to PowerShell (the StackOverflow extension is awesome too!), click Reload when it is done...

Click File -> Preferences -> File Icon Theme...
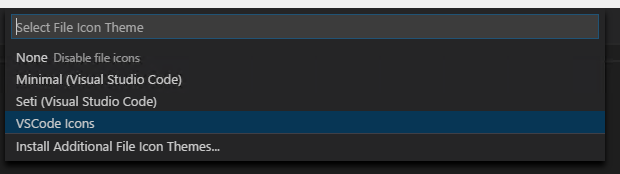
Select VSCode Icons from the list...
Step 3: Download and Install Git SCM
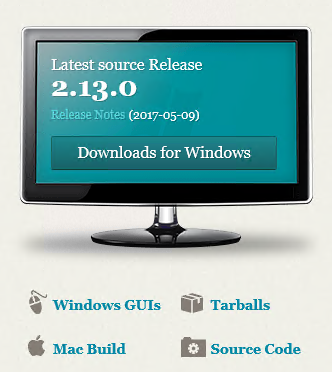
For most users simply selecting the default options for the installation is sufficient, there are a lot of questions, but for most, the default it fine...
Step 4: Basic Git Configuration

git config --global user.name "Bob Dole"
git config --global user.email "user@email.com"
Step 5: Create and Pull a GitHub Repository

When you log into GitHub, in the upper right corner you will see a + symbol, click that and choose "New Repository"

Enter a Repository Name, in this case I chose PowerShell-Scripts, description is optional

Launch Git BASH (this was installed as part of Git) and navigate to the local location you want the repository to reside at.
Once there type the following:
git clone <https address of your repository>.git

You will be prompted to log in to GitHub...
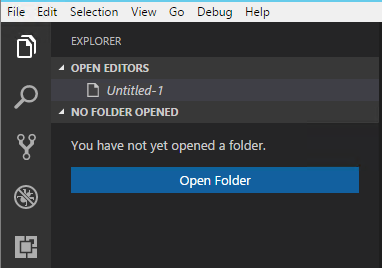
Once you log in you now want to open the folder you just cloned the repository to (the way we did it there should be a sub folder called "PowerShell-Scripts" located at the path you were in when you ran the git clone. Click the Explorer tab on the left hand Activity Bar.

Browse to the folder you cloned the repository to.
Once you have opened this folder click File -> New File

Once the file is open we need to tell VSCode that this is a PowerShell file, if you open a .ps1 file it automatically knows, in the case of a new file we need to tell it, so hit CTRL+SHIFT+P and type "change lang" and hit enter and type "ps" and hit enter, now VSCode knows which Syntax and IntelliSense to use.

You will also see that upon doing that it will open a PowerShell terminal pane below your script pane.
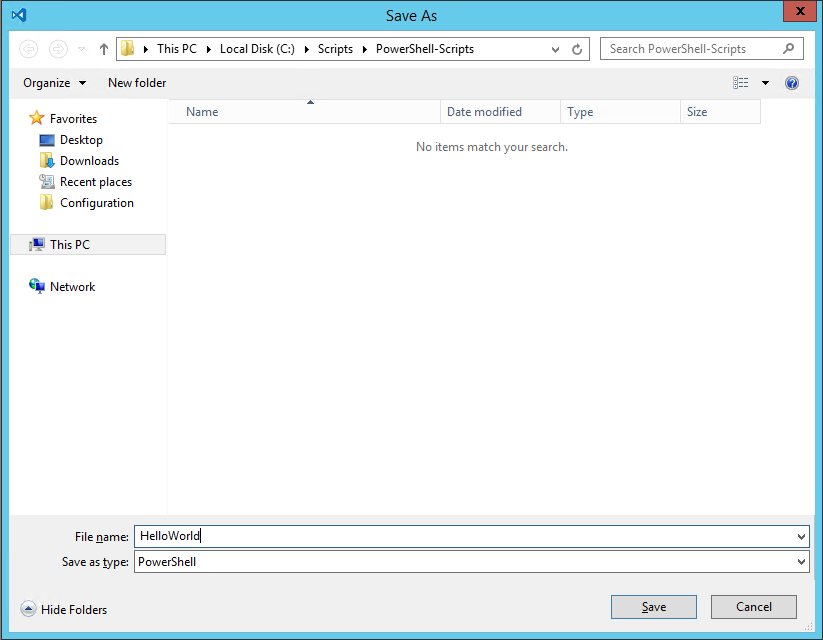
After you type some example code click File -> Save (or hit CTRL+S) and save your file t the folder your repository exists in.
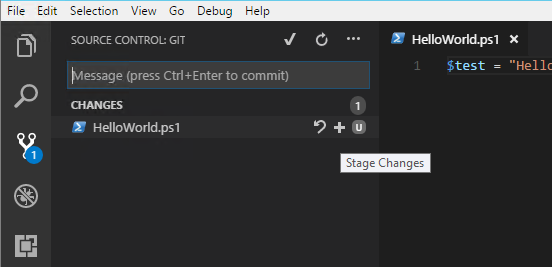
Click on Source Control in the Activity Bar and you shoul dnow see your file there, when you hover over it you should see a + symbol, click that, this stageds your changes you just made.

You should see the "U" change to an "A". Click the Check Mark at the top of the pane.

It will ask you to enter a commit comment, this should be a succinct description of the changes you are committing, in many cases your first commit comment will be "initial commit". When you view the files on GitHub you can see the commit comment associated with the last commit that included that individual file/folder.

Once your commit is complete you need to "Push" your changes up to Git, to do this, on the Source Control pane click the Ellipsis and select "Push", barring any issues the changes will now be pushed up to GitHub available for cloning and syncing with new users or your other development locations.

There you go, changes are now secure, feel free to break your incredibly complex Hello World and you will be able to recover the last working version and collaborate with others on long term scripts requiring multiple developers.